Fix a Dripping Tap – Causes, DIY Repairs and Plumber Costs
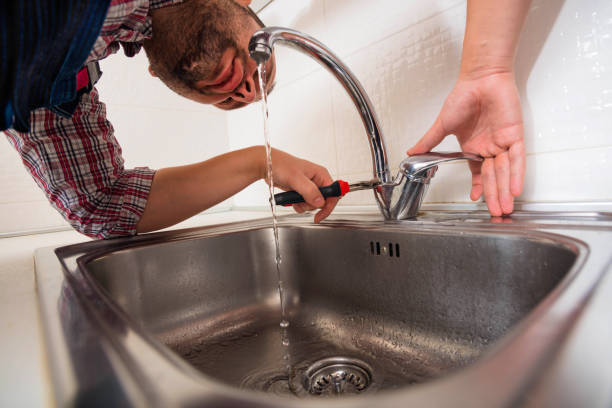
A dripping tap is one of the most common household plumbing problems. Although the leak may appear minor, it can waste water, create staining around the basin or sink and indicate that an internal washer, valve or cartridge is deteriorating.
The usual causes are a worn washer, damaged cartridge, limescale or debris preventing the tap from sealing properly. WaterSafe identifies these among the most common reasons for a dripping tap.
Through FraserBond.com, homeowners, landlords and property managers can explore tap repairs, plumbing maintenance and property services across London and the UK.
Why Is My Tap Dripping?
The cause depends partly on the type of tap.
Common problems include:
- Worn or split rubber washer
- Damaged ceramic cartridge
- Worn O-ring
- Limescale build-up
- Dirt or debris inside the valve
- Loose internal components
- Deteriorated seals
WaterSafe advises that traditional twin-lever taps commonly develop problems with washers or valves, while a single-lever mixer can drip because its cartridge is dirty, scaled or worn.
How to Fix a Dripping Tap
For a straightforward repair, the basic process is:
Identify Tap Type → Isolate Water → Open Tap → Inspect Washer/Cartridge → Clean or Replace → Reassemble → Restore Water → Test
Only attempt the work if you're confident with basic plumbing. If the isolation valve does not operate properly, components are seized or pipework is fragile, use a qualified plumber rather than forcing fittings.
Step 1: Turn Off the Water
Before dismantling the tap, isolate its water supply.
Many sinks and basins have isolation valves underneath. If not, you may need to use the property's internal stop tap.
After isolation, open the tap and check that water has stopped flowing before taking it apart. WaterSafe recommends this as the first stage of a dripping-tap repair.
Place a towel or cloth over the basin or sink to protect the surface and prevent screws or other small components disappearing down the waste.
Step 2: Identify the Type of Tap
Different taps use different mechanisms.
Traditional Compression Tap
These typically use a rubber washer to stop water flow.
A worn, hardened or damaged washer is a common reason for dripping.
Ceramic Disc Tap
Quarter-turn taps commonly use ceramic-disc cartridges rather than traditional rubber washers.
Limescale and wear can eventually affect the cartridge and prevent the tap from shutting off completely.
Single-Lever Mixer Tap
A single handle controls temperature and flow.
These commonly use a replaceable cartridge. If that cartridge becomes worn or contaminated with debris or scale, the tap can begin dripping.
Step 3: Remove the Tap Handle
The fixing may be hidden beneath:
- Hot/cold indicator
- Decorative cap
- Small grub screw
- Handle cover
Remove components carefully and keep them organised in the order they were taken off.
Avoid excessive force. Old or heavily scaled fittings can break.
Step 4: Inspect the Washer or Cartridge
For a twin-lever tap, WaterSafe recommends inspecting the washer and valve for wear and limescale. A damaged washer can be replaced, while scale may sometimes be cleaned away.
For a cartridge tap, inspect the cartridge for:
- Limescale
- Debris
- Visible damage
- Worn seals
If it is damaged, replacement is generally preferable to repeatedly attempting to clean it.
Step 5: Find the Correct Replacement Part
Not all tap washers and cartridges are interchangeable.
Ideally identify:
- Tap manufacturer
- Tap model
- Cartridge dimensions
- Number of splines where relevant
- Hot or cold side
- Cartridge direction
If the model is unknown, taking the old cartridge or valve to a plumbing supplier can make identification easier.
Buying the correct cartridge is particularly important because two parts that look similar may not fit or operate identically.
Step 6: Reassemble the Tap
Once the defective component has been cleaned or replaced, reassemble everything in reverse order.
Do not overtighten components in an attempt to guarantee a seal. Excessive force can damage threads, seals or ceramic parts.
Restore the water supply gradually and test the tap.
Check both the spout and the area around the tap for leaks.
Tap Dripping From the Spout
A drip from the spout while the tap is switched off usually indicates that the internal flow-control mechanism is not sealing properly.
Depending on the design, investigate the:
- Washer
- Valve
- Ceramic disc
- Cartridge
- Valve seat
This is different from a leak around the base of the tap.
Tap Leaking Around the Base
Water appearing around the base can indicate:
- Failed O-ring
- Worn seal
- Loose connection
- Valve problem
- Gasket deterioration
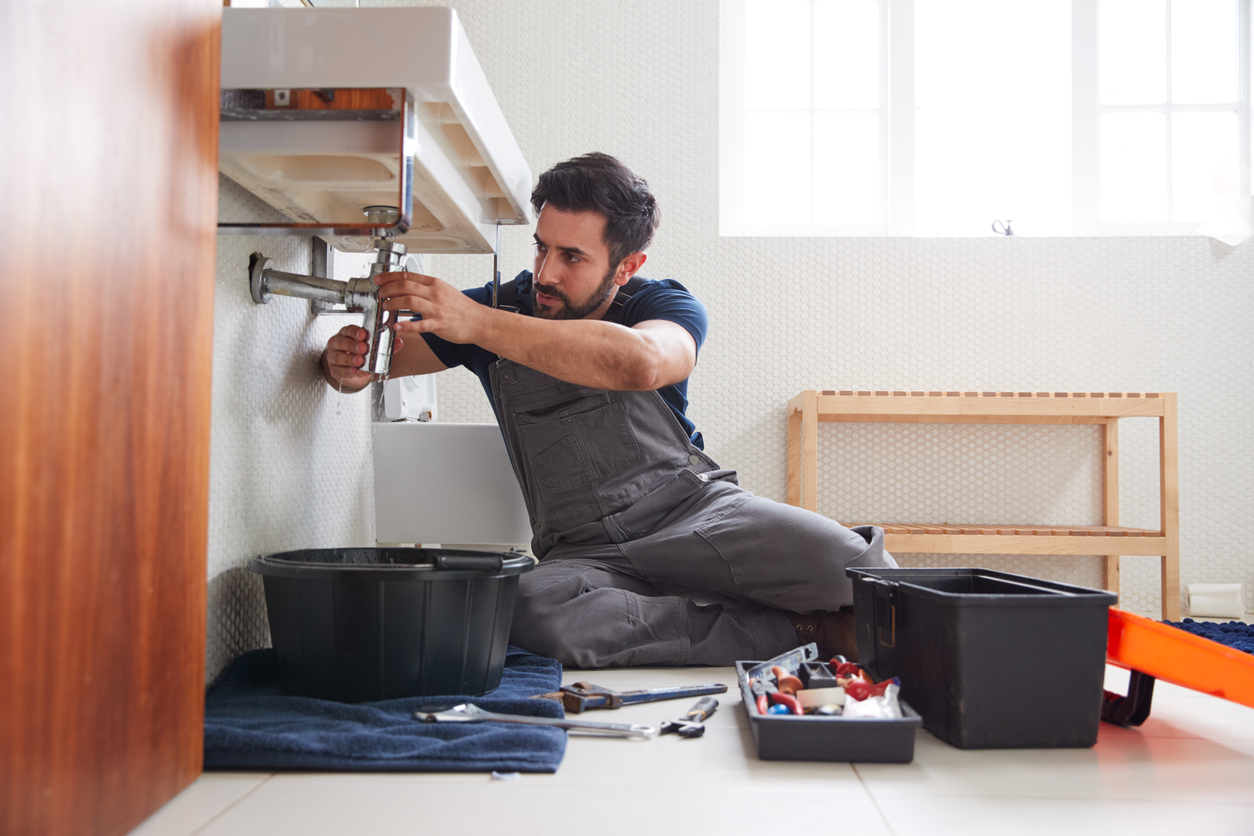
If water is also appearing underneath the sink, inspect the pipe connections rather than assuming the problem is simply the tap cartridge. Multiple worn components or loose fittings can cause leakage around and beneath a tap.
Tap Leaking Under the Sink
A leak beneath a sink needs prompt investigation because even a relatively small hidden leak can eventually contribute to damp, mould or damaged cabinetry.
Possible causes include:
- Loose flexible hose
- Compression joint
- Tap connector
- Failed seal
- Waste-pipe leak
- Damaged pipe
WaterSafe advises turning off the supply where a leak is causing damage and recommends professional investigation for under-sink leaks rather than uncertain trial-and-error repairs.
Kitchen Tap Dripping
Kitchen mixer taps frequently use ceramic cartridges.
If a kitchen tap continues dripping after being closed, the cartridge may need cleaning or replacing.
With a two-handle kitchen mixer, identify whether the hot or cold valve is responsible before ordering replacement components.
Bathroom Tap Dripping
Bathroom basin and bath taps can develop the same washer, cartridge and limescale problems as kitchen taps.
Access can sometimes make repairs more complicated, particularly with:
- Bath taps
- Wall-mounted taps
- Concealed mixers
- Taps behind bath panels
A simple £5 component can therefore become a larger plumbing job when accessing the tap requires dismantling surrounding fittings.
Mixer Tap Dripping
With a mixer tap, determine whether the problem is:
- Constant spout dripping
- Leak around handle
- Leak around swivel spout
- Leak beneath sink
These symptoms can point towards different seals or components.
Replacing a cartridge will not necessarily fix a leak caused by an O-ring around a swivel spout.
Limescale and Dripping Taps
Hard water can contribute to tap problems because mineral deposits accumulate around internal components.
WaterSafe identifies limescale as one possible reason washers and cartridges stop sealing effectively.
In some cases, descaling a serviceable component may restore operation. A cracked, brittle or badly worn component should normally be replaced.
How Much Does It Cost to Fix a Dripping Tap?
Current 2026 UK market data puts the typical repair of a leaking tap at approximately £95–£170, averaging about £132.50.
The actual cost depends on:
- Tap type
- Replacement part
- Accessibility
- Location
- Plumber's minimum charge
- Whether the tap can be repaired
- Whether complete replacement is required
Current pricing guidance puts general plumber labour at around £50 per hour, although many plumbers quote a fixed price for straightforward tap repairs.
Repair or Replace the Tap?
Repair is usually sensible when:
- Tap body is in good condition
- Correct cartridge is available
- Leak is caused by a replaceable washer
- Finish is still satisfactory
Replacement may be better where:
- Tap is badly corroded
- Several components have failed
- Cartridge is obsolete
- Tap body itself is damaged
- Repair approaches the cost of replacement
For an inexpensive old tap, fitting a new unit can sometimes be more economical than spending significant labour time identifying an obscure cartridge.
When to Call a Plumber
Consider professional help where:
- You cannot isolate the water
- Tap remains dripping after repair
- Pipework is corroded
- Fittings are seized
- Water is leaking underneath the sink
- Tap is concealed
- Leak is causing property damage
- You cannot identify the correct component
WaterSafe recommends using an appropriately qualified and experienced plumber when you are not confident carrying out the repair yourself.
WaterSafe-approved plumbers ha